Christmas Cookie Box
These Christmas Cookie Boxes are the best way to share a secret suprise in them. I put in sweets but you could put in anything to them, even an engagement ring!
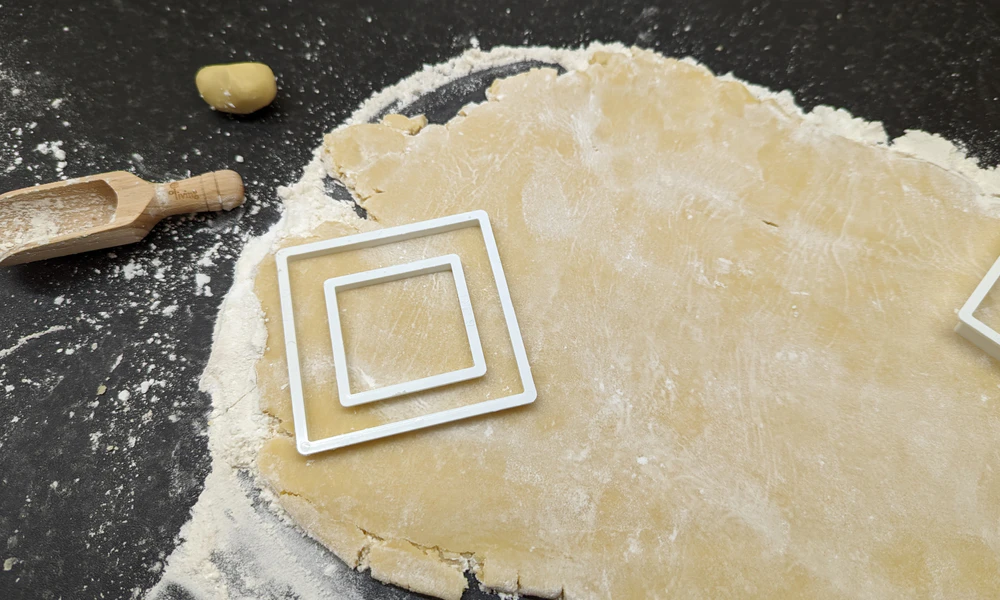
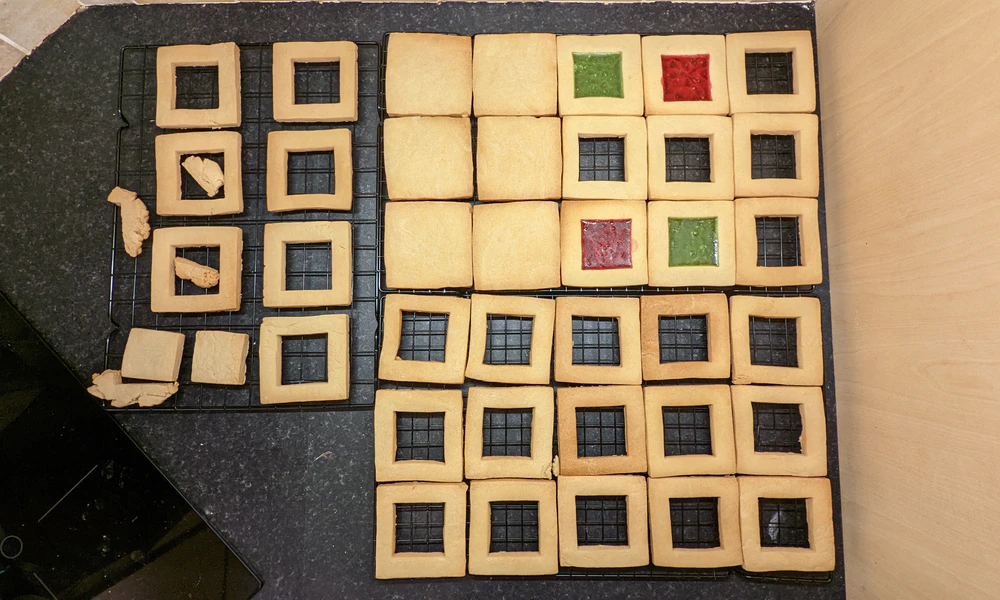
Roll out and shape your Cookie Box with your square shaped cut outs.
It’ll be a bit messy but worth it.
Remember the Isomalt is optional. You can still make beautiful Cookie Boxes without it.

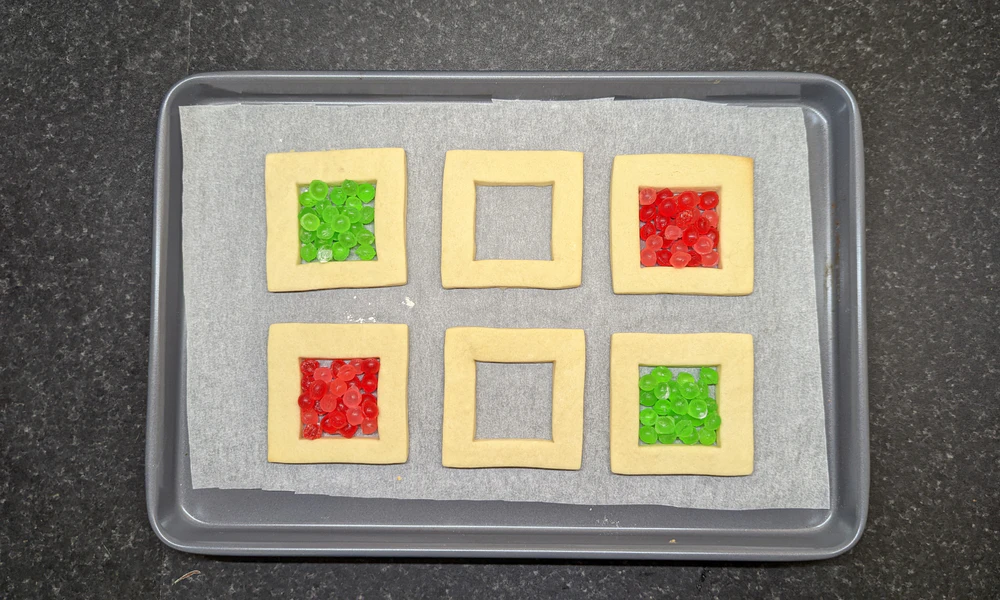
These are a tops and bottoms for the boxes. For mine I created a bottom that has a stained glass effect.
Once all of the pieces are cooled down, it is then time to start assembling the Cookie Boxes.
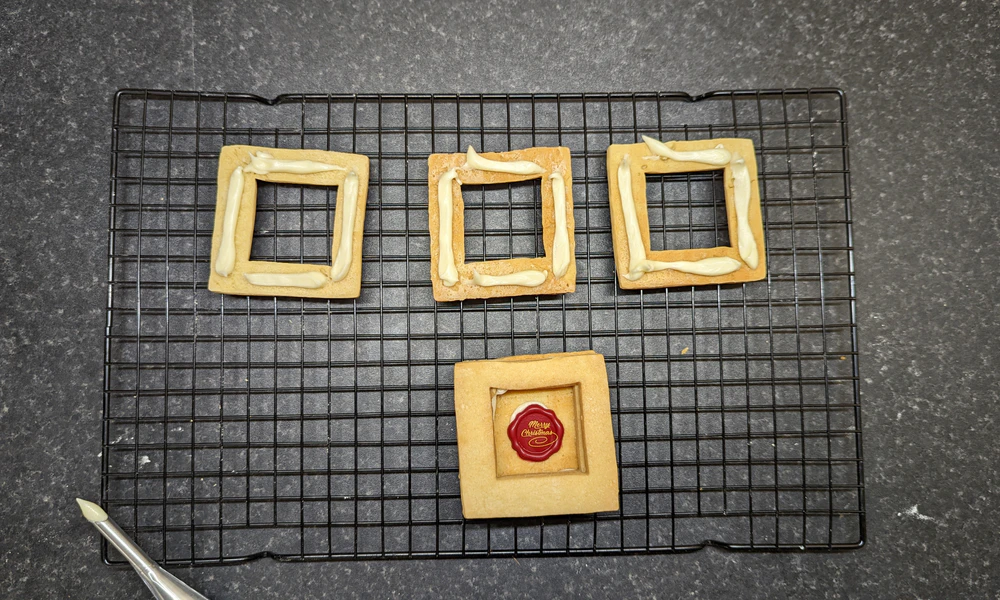
I used buttercream to stick them together, but you could use anything, even chocolate.
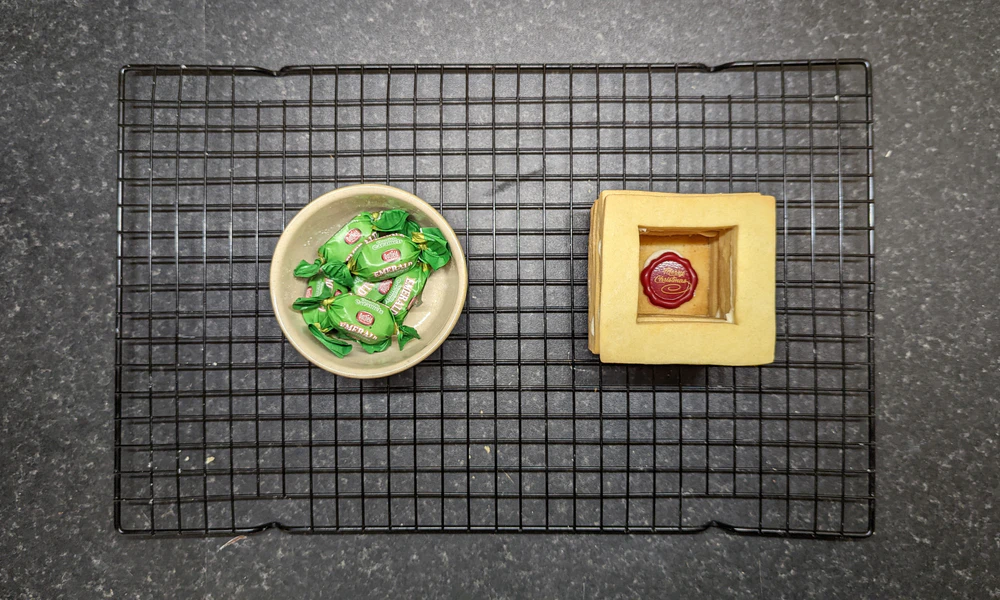
These are my favourite sweets. Perfect for a surprise.
A hand full of these fit in the Cookie Box.
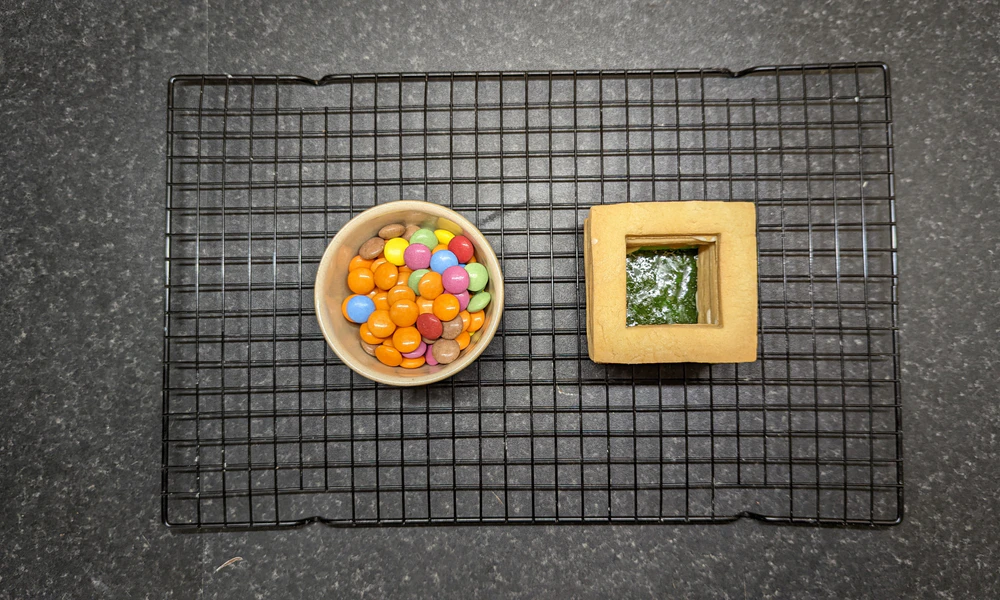
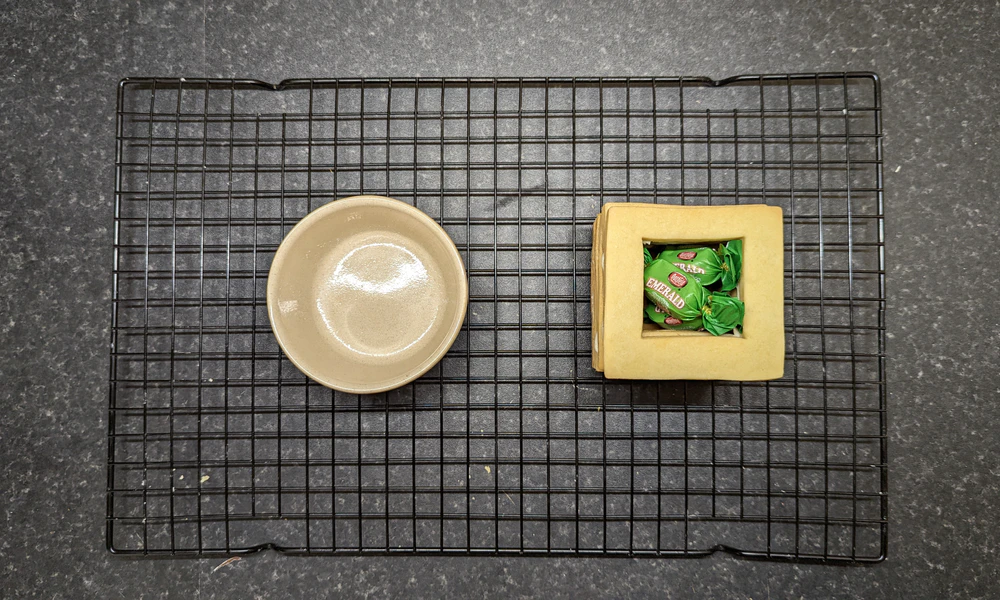
Any sweets will do. The more colorful the better.
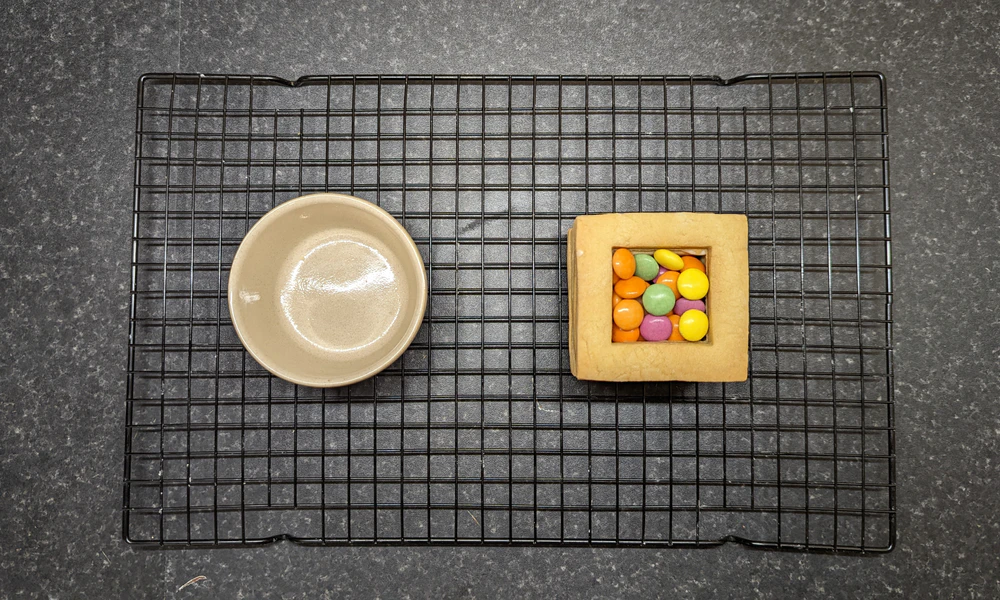
A shareable amount of sweets fit in there.
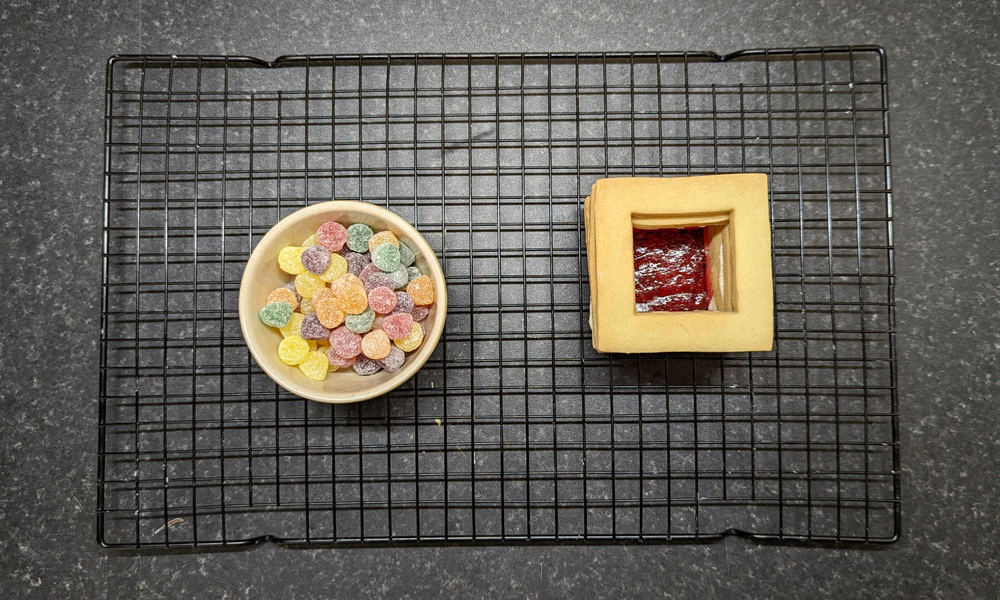
Sugary sweets are the best. And jelly sweets.
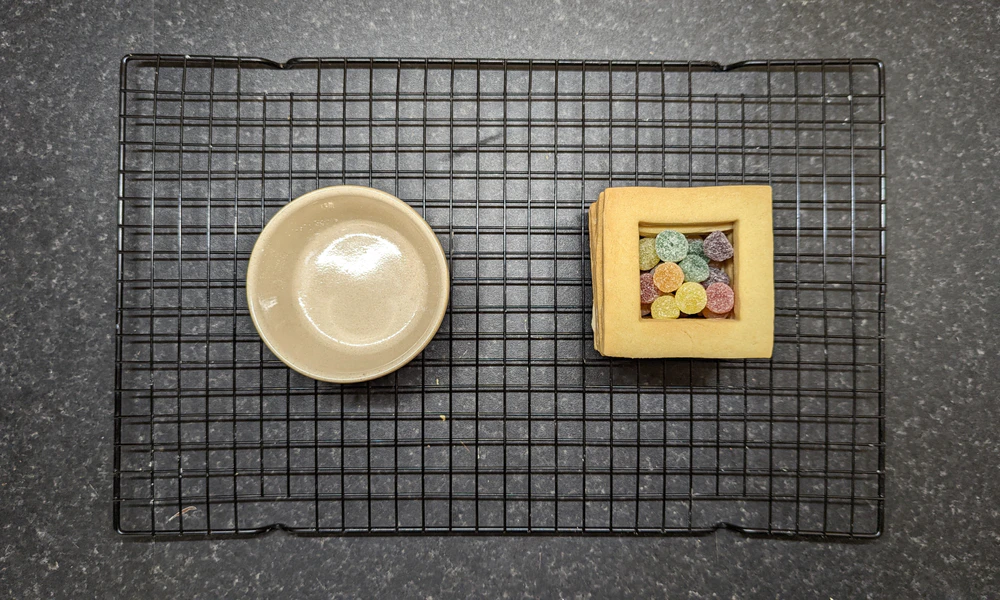
Jellys rattle less, it will surely be a good surprise. (Don’t call me Shirley)
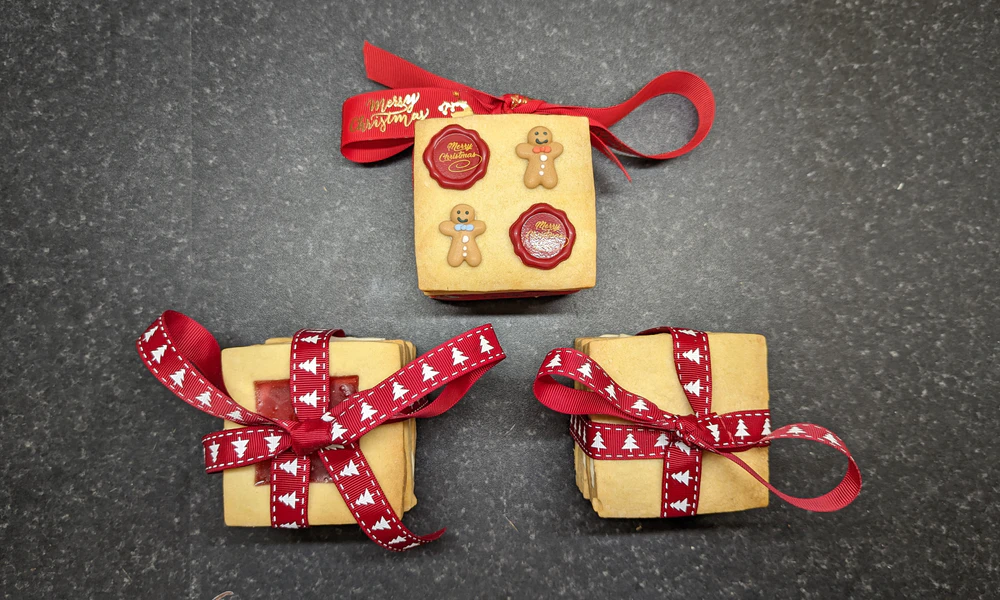
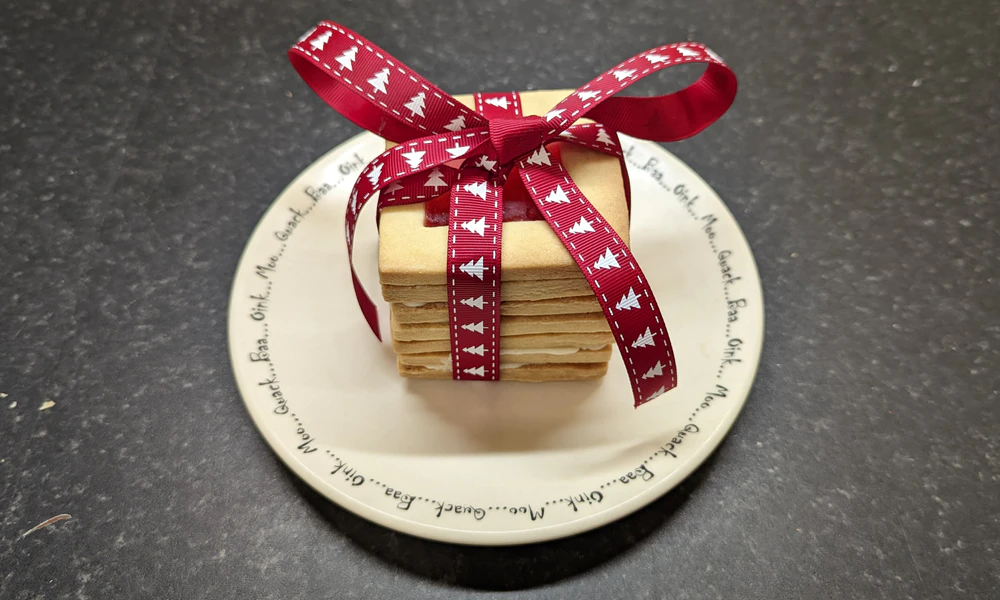
Finally I tied a ribbon around the Cookie Boxes to add a sense of occasion. Merry Christmas!
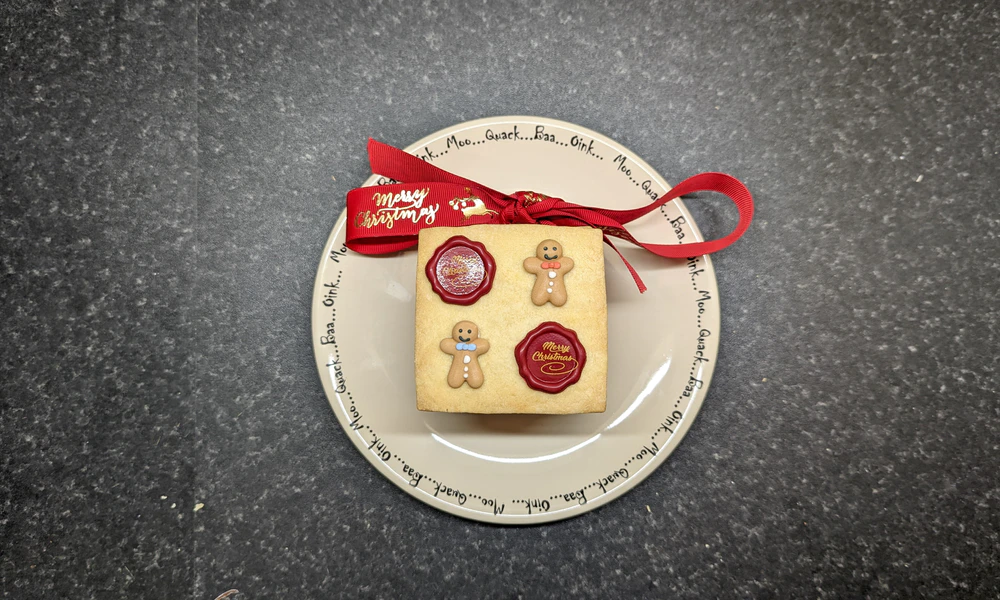
Up close it looks really christmasy.
The stained glass effect makes it feel magical.
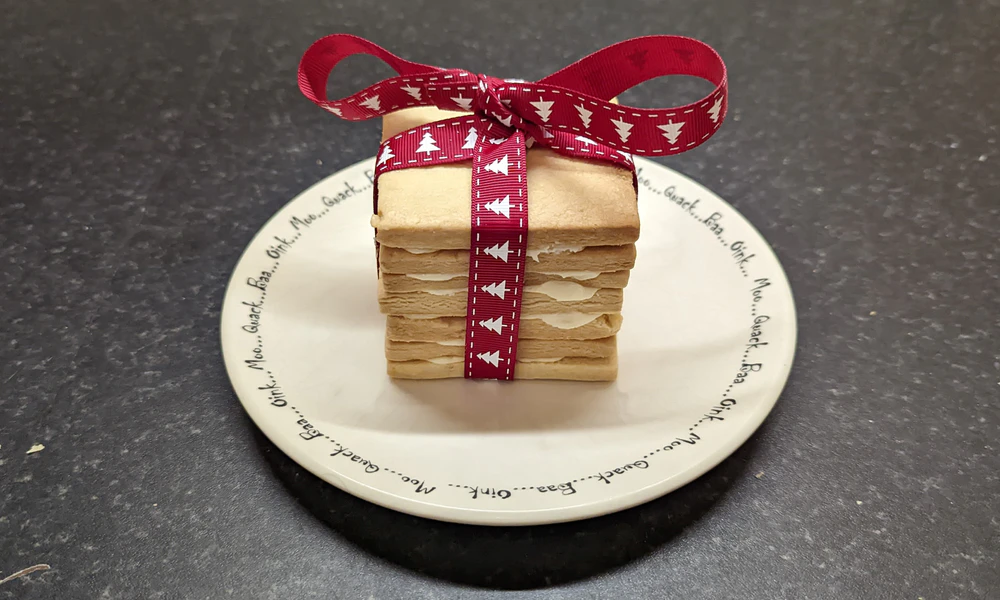
Even without the stained glass it looks great.
- 5 Christmas Cookie Boxes
- 120 minutes
- 45 minutes
Ingredients
Cookie Shortbread
- 600g (21.2oz) of plain flour
- 400g (14.1oz) of unsalted butter
- 200g (7oz) of icing sugar
- 2 tbs of vanilla extract
- 2 egg yokes
Cookie Stained Glass
- 50g (1.8oz) of Isomalt (or Jolly Ranchers or Lolly Pops) (Optional)
Construction
- 200g (7oz) of Buttercream (Replacement: Melted Chocolate)
- 200g (7oz) of Sweets (Candy)
Directions
Cookie Shortbread Pastry - Part 1
- Cut butter into cubes and let sit for a couple minutes.
- Work the butter into the flour mixture, slowly adding more and more softened butter cubes. Best thing to do is with clean hands to squish the flour and butter together with your thumbs and fingers. Keep going till it all looks incorporated.
- Add the sugar and continue mixing.
- Add the vanilla extract and continue mixing.
- Add the egg yolk and continue mixing.
- (I accidentally added the whole egg and it still work out great) (Add more icing sugar if the mix is too wet)
- Knead the dough for a few minutes and make two balls of the dough.
- Wrap the dough balls and put it into the fridge for an hour. (This will last for longer but after maybe two days it’ll be more difficult to roll out)
Questions
- How many cookie middle and top/bottom pieces do I need to make this Cookie Box?
- I made 10 top/bottom pieces (6 regular and 4 stained glass).
- I made 27 middle pieces which gave me a spare of 2, if you put 5 middle pieces in the middle per box.
- But, if you want to make more boxes with less middle pieces you can do that too.
- Just make sure you do the maths before shaping and baking.
Cookie Shortbread Pastry - Part 2
- Take the dough out of the fridge and leave the dough out for a minimum of 15 mins.
- Flour your counter and rolling pin. Roll out the dough. You’ll want it to be about 2mm thick.
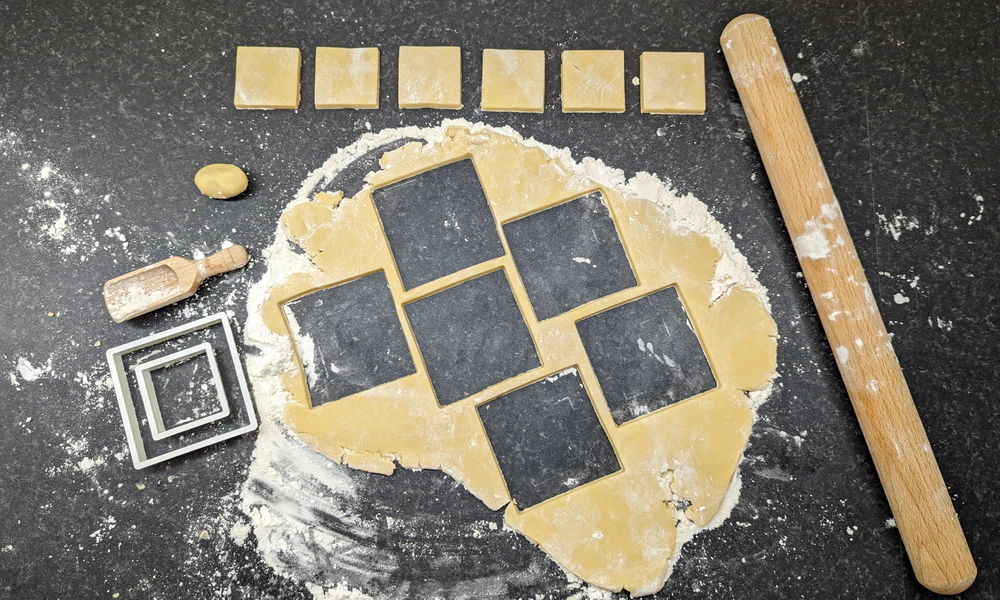
- Use a square shape cookie cutter to cut out the square shapes and also make ones that have square shaped holes in the middle.
- Then transfer to a baking tray.
Bake
- (Optional) Crush up your Jolly Ranchers or Lolly Pops if you’re not going to be using Isomalt.
- (Optional) Don’t place the Isomalt in the cookie holes just yet, we will half bake the cookie first.
- Bake for cookies for 7-12 mins at 160°C (320°F).
- If using the Isomalt, take out the cookies and add the Isomalt in the center of the cookies. (Remember we need empty center ones to make the box)
- Continue baking for another 5 minutes or less at the same temperature. (Keep an eye on them to get make sure they’re all the same color)
- Let them cool for 5-10 mins and place them on a wire rack to cool more. (The Isomalt will be difficult to remove from the baking tray straight away)
Construction
- When the cookies are cooled down you can now add buttercream or melted chocolate to make the box. Image above for reference.
- I added 5 cookies with square holes to form the box.
- When you have the 5 cookies on top of the base like above, place it in the fridge for the buttercream or chocolate to set.
- Once set, add in the sweets and add a lid. You can add buttercream or chocolate to seel it or seel it with a ribbon.
- Finishing Touches: For one of mine I added extra decorations to the top of the Cookie Box.
More delicious recipes
This is one of the many fantastic recipes available